Make a simple, economic and sustainable holder for pencils, pens, art supplies or small tools.
Instructions
Materials
- 40-50 toilet paper tubes
- PVA glue
- Two spools of twine or thick string
- Clothespin (optional)
Tools
- Wooden/plastic stick or similar glue applicator
- Scissors
First, start saving toilet paper tubes because you will need lots of them. If, like us, you use plenty of toilet paper, you will soon have a sufficient number of cardboard tubes. If not, just ask your friends and neighbors to start saving them for you.

STEP 1
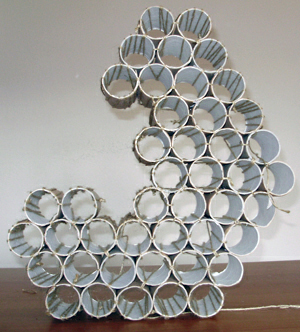
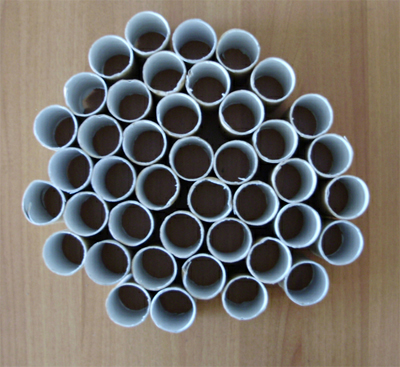
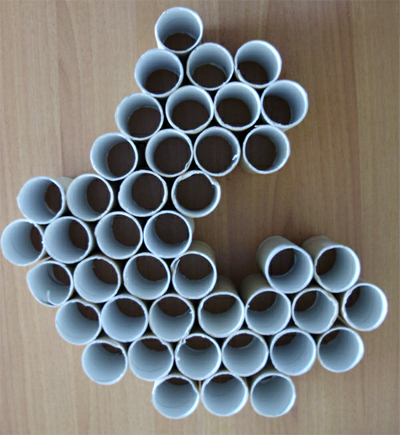
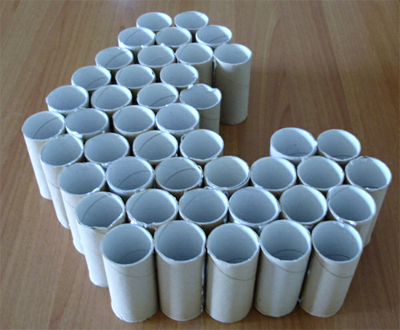
Gather 40 to 50 tubes. Stand them on end and try to come up with a formation. The formation may be symmetrical or more random. In either case, each tube must touch at least two other tubes. This will ensure that the formation will be strong enough to hold up its weight.
FORMATION EXAMPLES
• cyclical
• diamond shaped
• free- form (each tube still touches at least two other tubes)
STEP 2
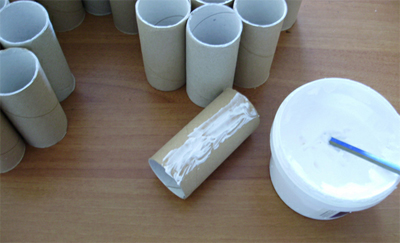
Using a small stick (or a pencil) liberally apply glue onto the first tube. The best glue is PVA glue which is strong but dries to a transparent finish.
STEP 3
Start with the first row. After applying glue, you don’t need to push the tubes hard, since you will be using twine to keep them together.

STEP 4
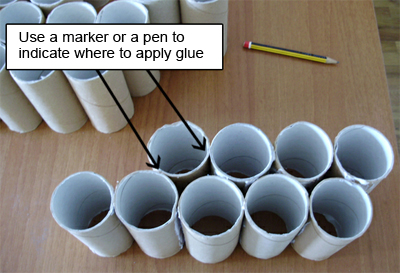
If using PVA glue, wait a few minutes for the first row to dry before continuing with the second row. Before applying glue on each tube, you can use a pen to mark where it should go.
STEP 5
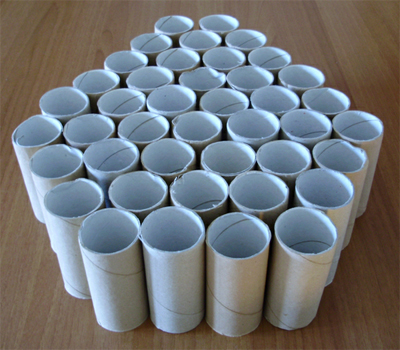
Continue with gluing the next rows.
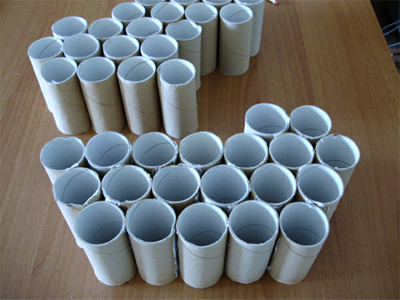
STEP 6
When you have glued the last tube, wait 10 minutes for the glue to dry. PVA glue dries fast.
STEP 7
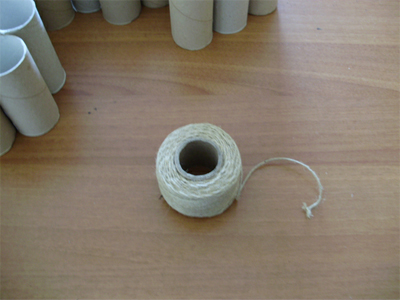
You must stabilize the tubes by wrapping them with twine or thick string. You will need quite a lot of twine, so you make sure you have two rolls.
STEP 8
Cut a length of twine (about 1 m / 40 inches) and tie it to one of the outermost tubes.
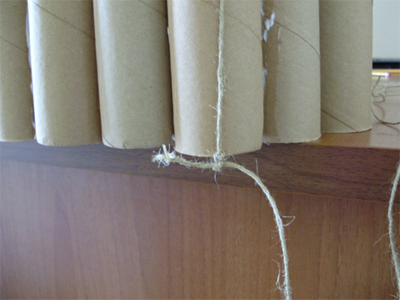
STEP 9
Start wrapping it around the tubes. At the points where two tubes meet, tie twice to reinforce the joint. When the twine has been used, cut another length and connect it to the previous length using a knot.
STEP 10
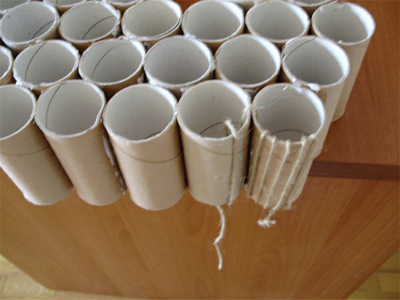
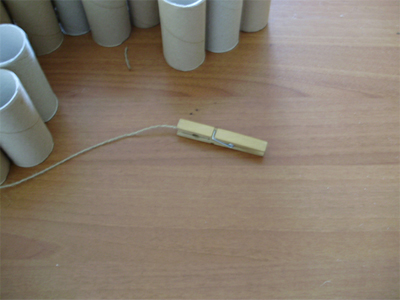
If your hands cannot fit inside the tubes, you can use a clothespin as a “needle” to help you get the twine around the tubes.
STEP 11
Continue wrapping with twine until all tubes are connected. You must wrap both external and internal tubes and especially the joints.

STEP 12
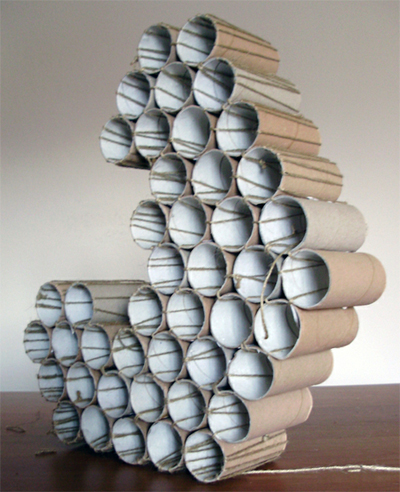
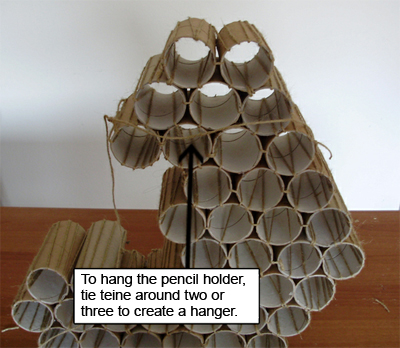
When you are done wrapping, the pencil holder will be quite strong. You can now tie a piece of twine for hanging from the wall.
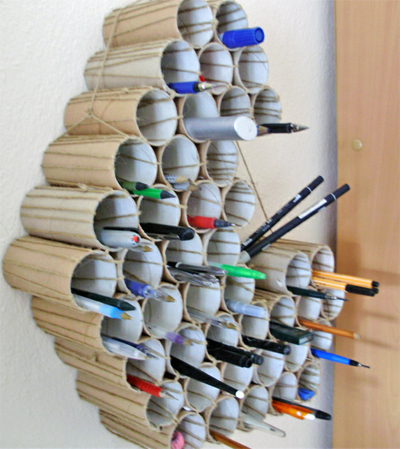
You can store pencils and pens inside the holder as long as their points are pointing outwards or your wall will be decorated with lines and smudges!


| < Prev | Next > |
|---|
Related articles
The most complete book about Furniture Arrangement

Latest advice